Website Widget
Okay, so there are two of these.
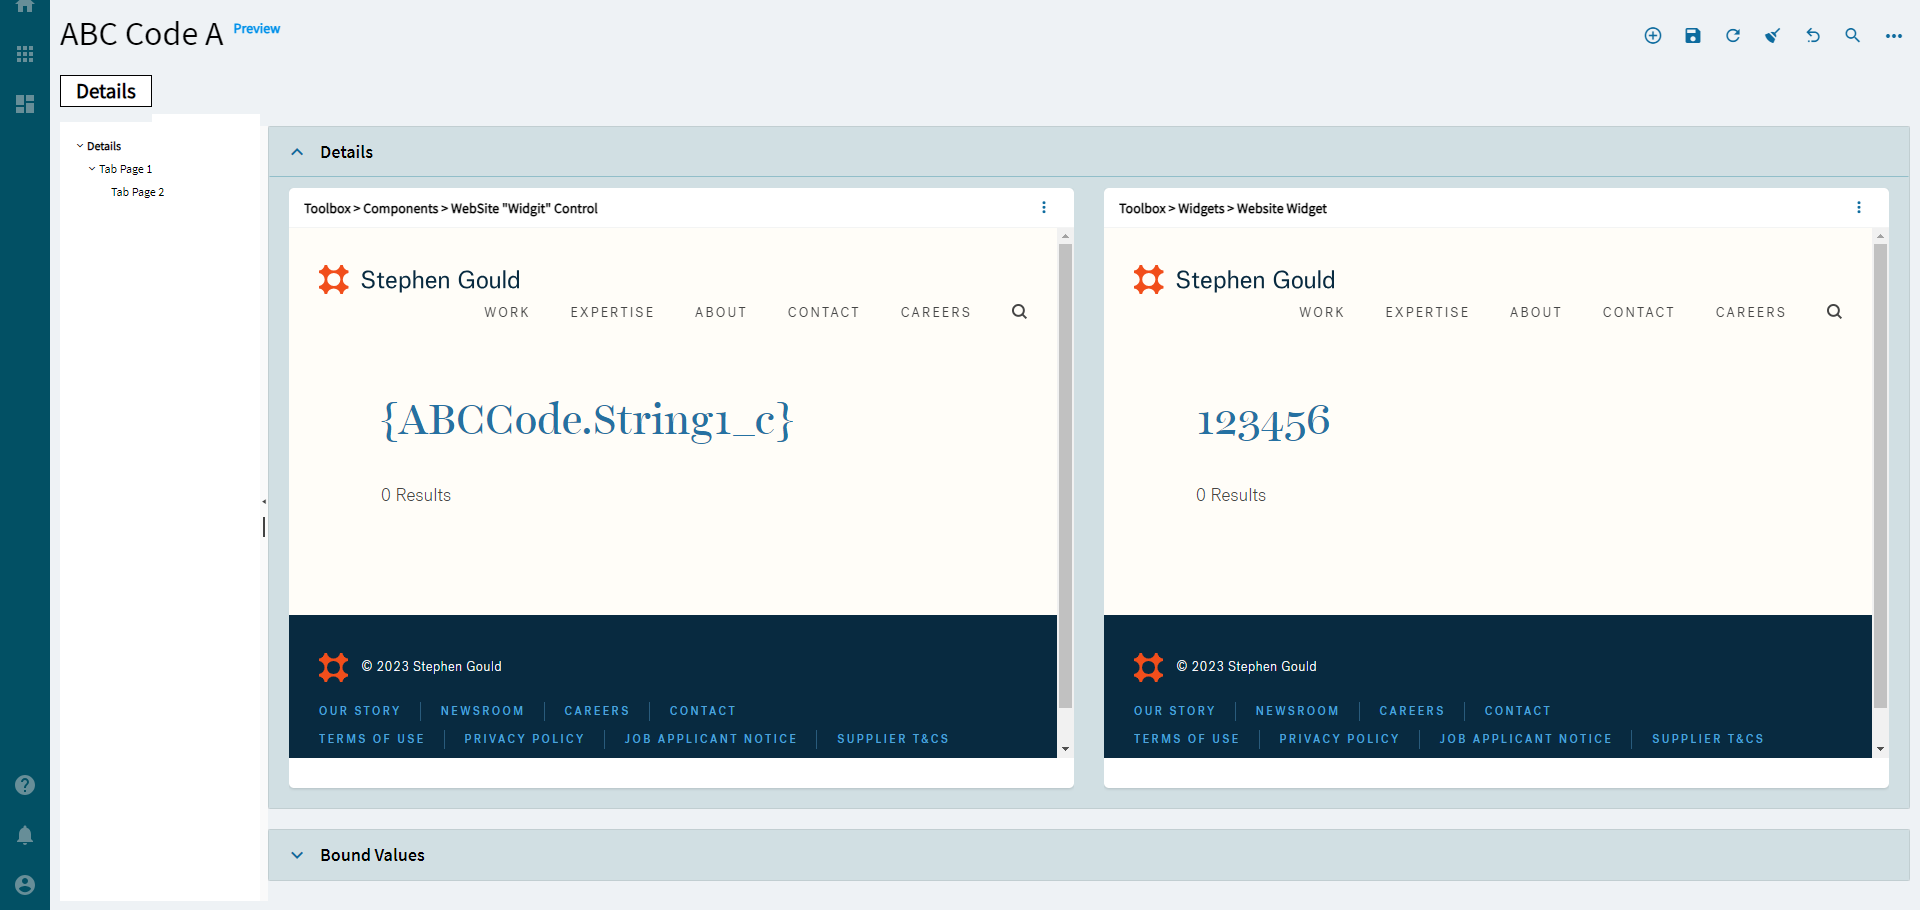
One is in Toolbox > Components > WebSite “Widigit” Control (not my spelling, don’t hurt me). We’ll call this one Web1.
The other is in Toolbox > Widgets > Website Widget. We’ll call this Web2.
Web1 works for displaying and interacting with a website, but does not take parameters in the URL.
Web2 does the same as Web1, but also allows a user to pass in parameters.
The properties are the same, so I will only be going over the Web2 one since it can do more.
| Property Group | Property | Description |
|---|---|---|
| Basic | Id | Unique identifier for the control |
| Basic | Title | Set the title of the frame. (Fig. A) |
| Basic | Url | Set the URL. The website must support embedding in an IFrame and must use HTTPS. Parameterized URLs are supported. Example: https://www.stephengould.com/?s={ABCCode.String1_c} (Fig. B) |
| Behavior | On Blur | Click this to create an OnBlur event for the control. On Blur is triggered when the control loses focus. |
| Behavior | On Create | Click this to create an OnCreate event for the control On Create is triggered when the control is painted to the GUI. |
| Comments | Comments | Add some developer notes to the control. These are not customer-facing and are only visible in App Studio (Fig. C) |
| Data | Key Field | Indicates that a bound component is a key field. If true, the field is enabled if there is no current record, allowing the user to select an existing record or create a new one. |
| Layout | Width | Sets the specific width (pixels) for the control. (Fig. D) |
| Layout | Height | Sets the specific height (pixels) for the control. (Fig. D) |
| State | Personalizable | If true, a user can personalize this component(hide/show) |
| State | Customizable | If true, a user can customize this component in child layers |
| Advanced | Icon | Set the icon that will be displayed in design mode. Format: mdi mdi-your-icon A list of icons can be found here: Material Design Icons (pictogrammers.github.io) (Fig. E) |
| Advanced | Token | Enable to pass a Bearer Token in the URL. The embedded website can use bearer tokens for ERP Server Authentication. (Fig. F) |
| Advanced | User Context | Enable to pass user context in the URL. (Fig. G) |
Figure A: Title
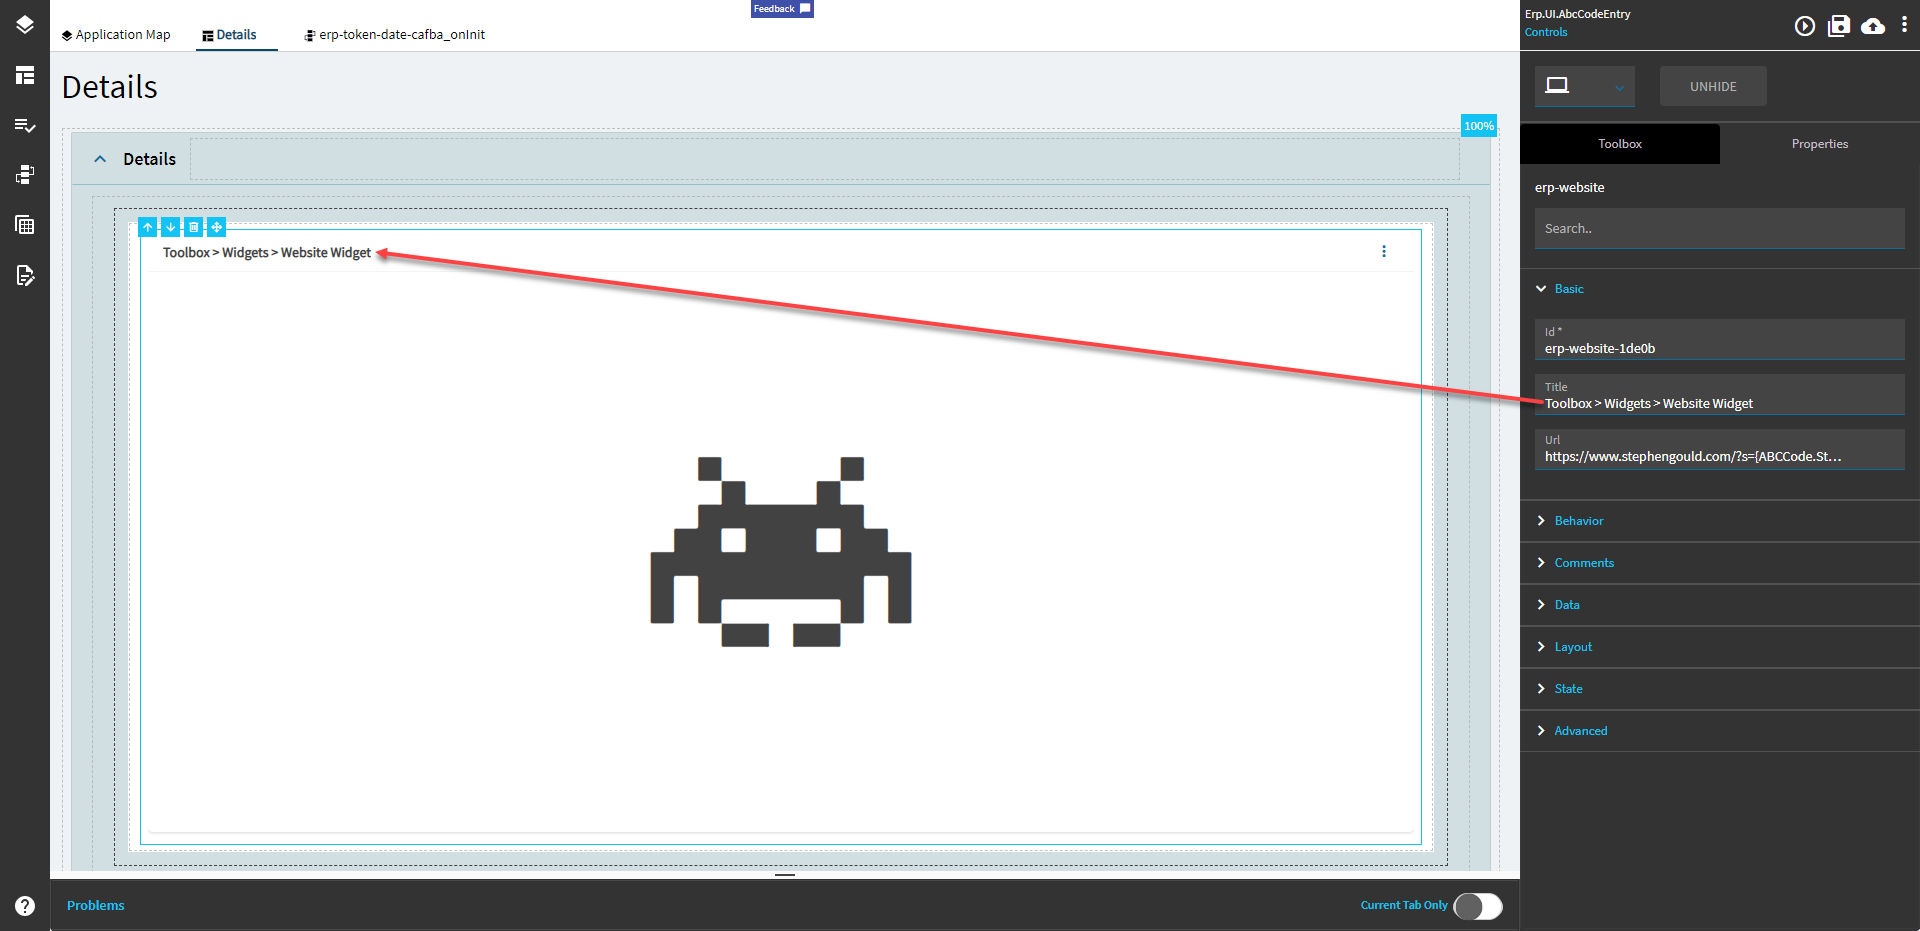
Figure B: Url
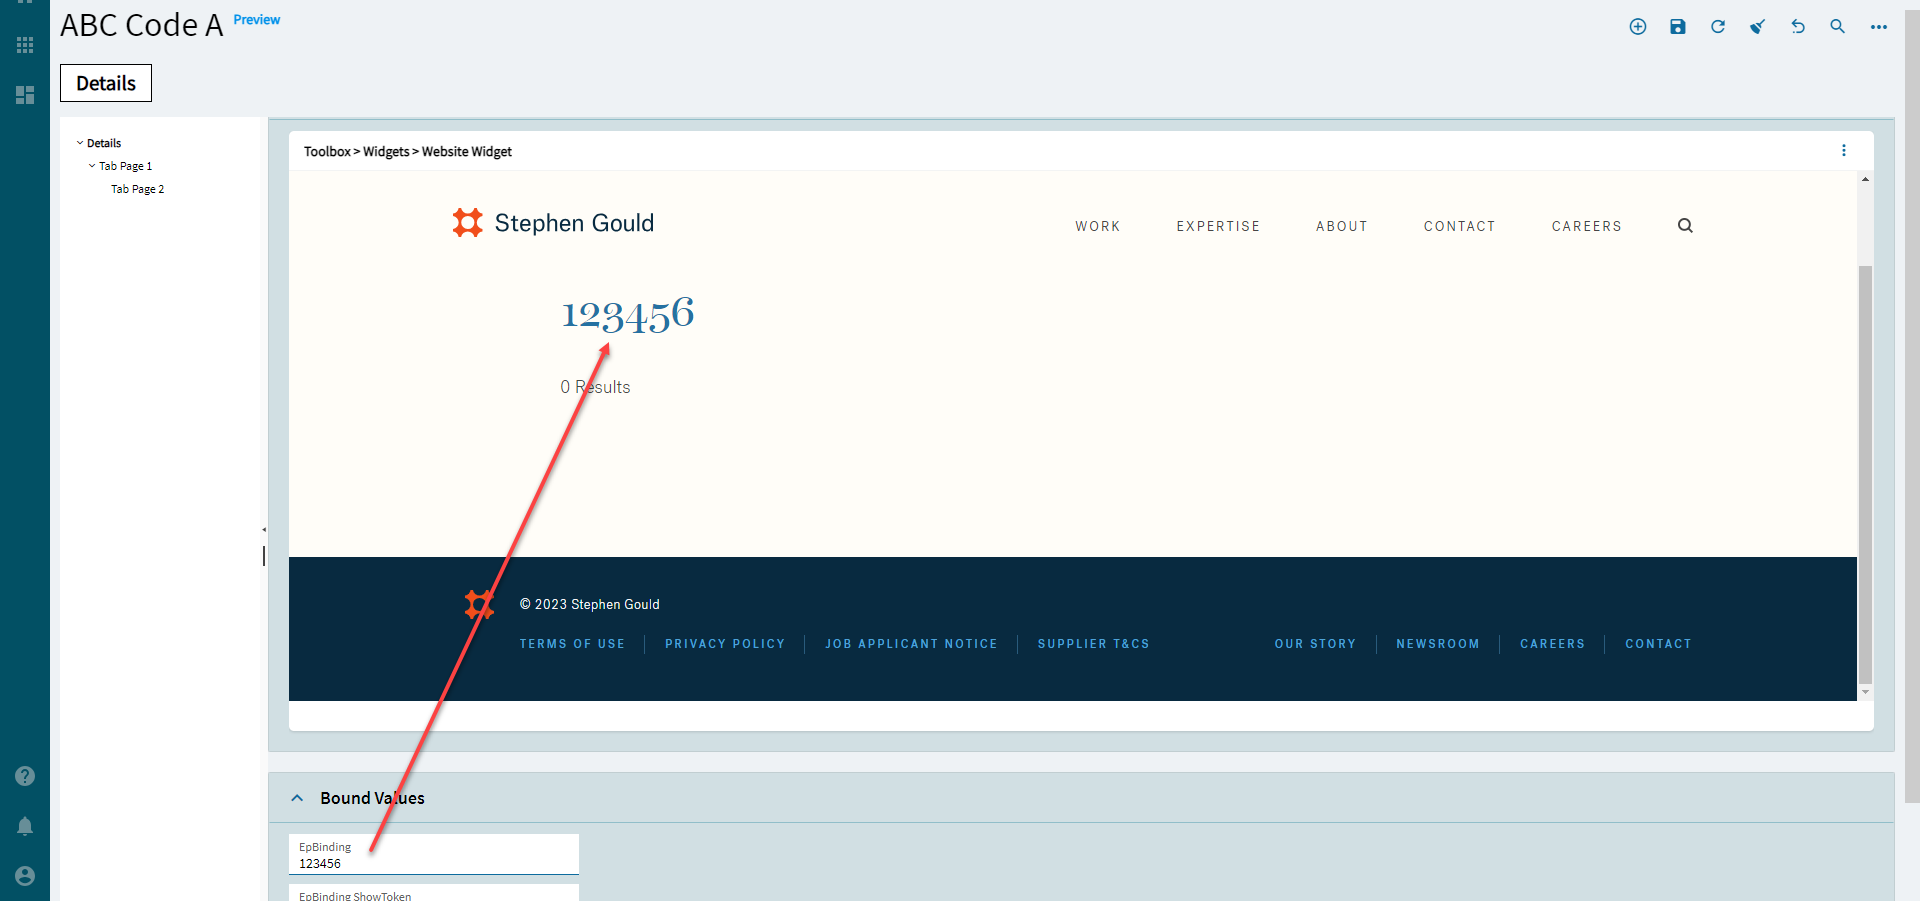
Figure C: Comments
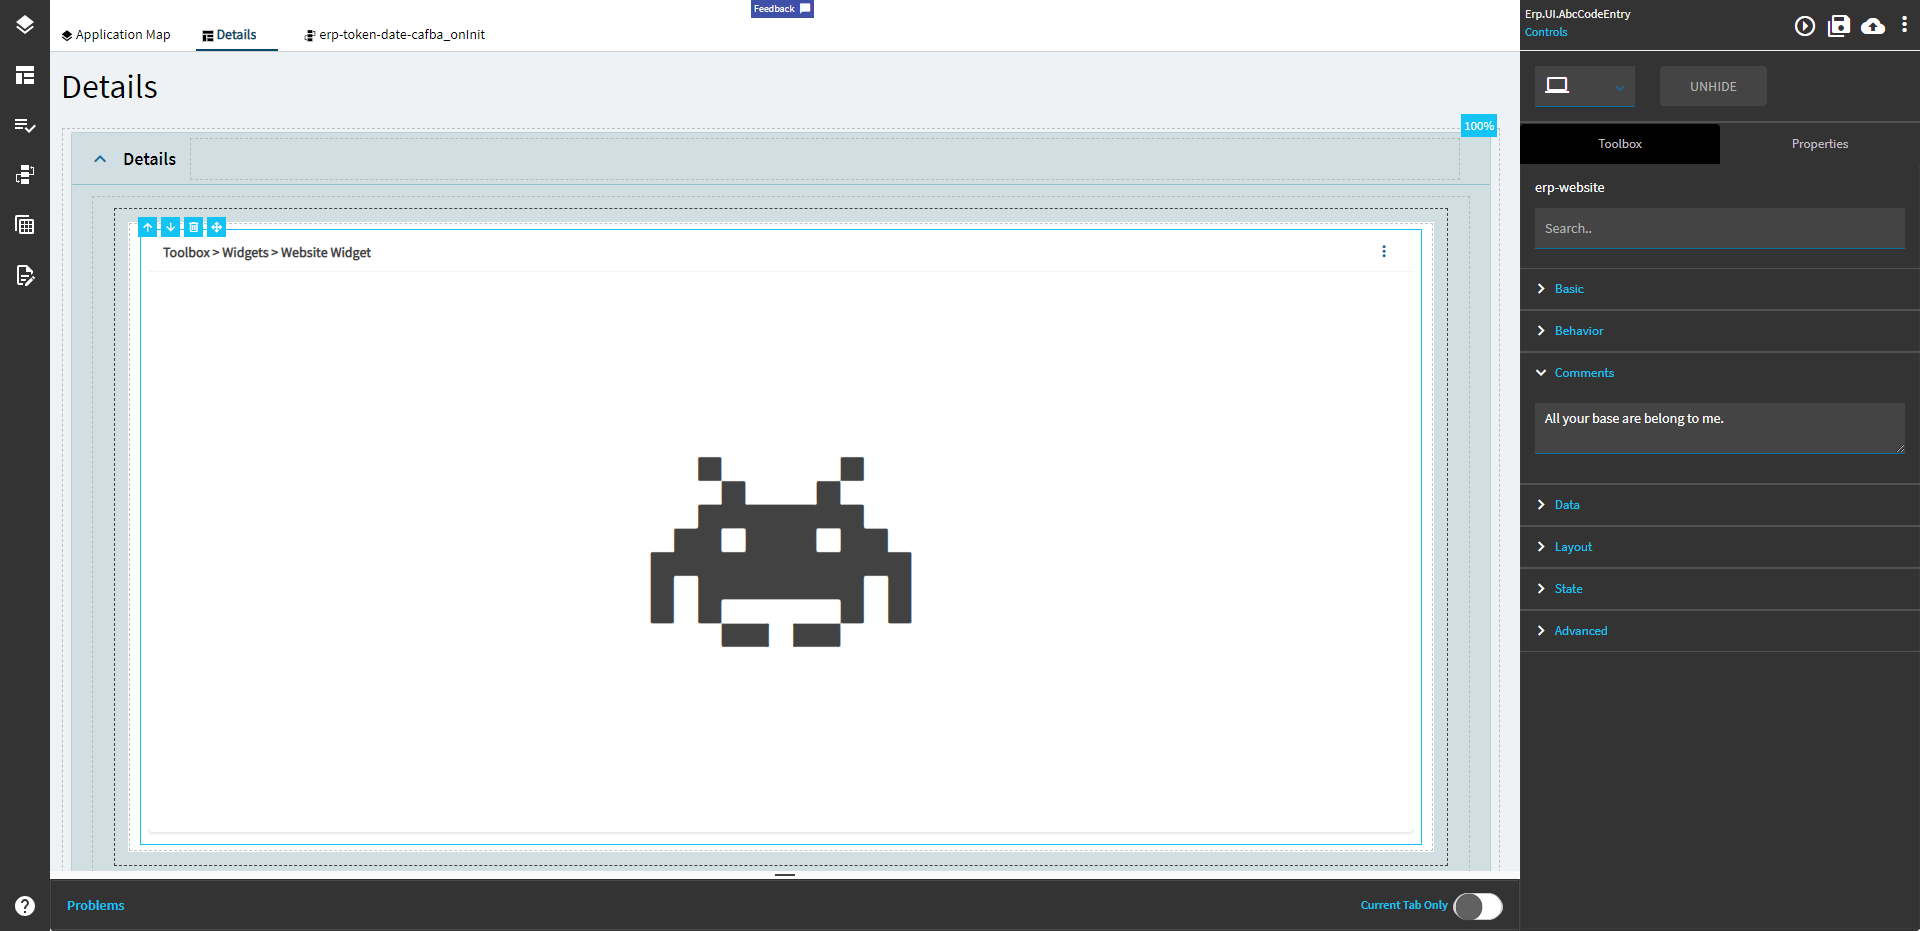
Figure D: Height and Width
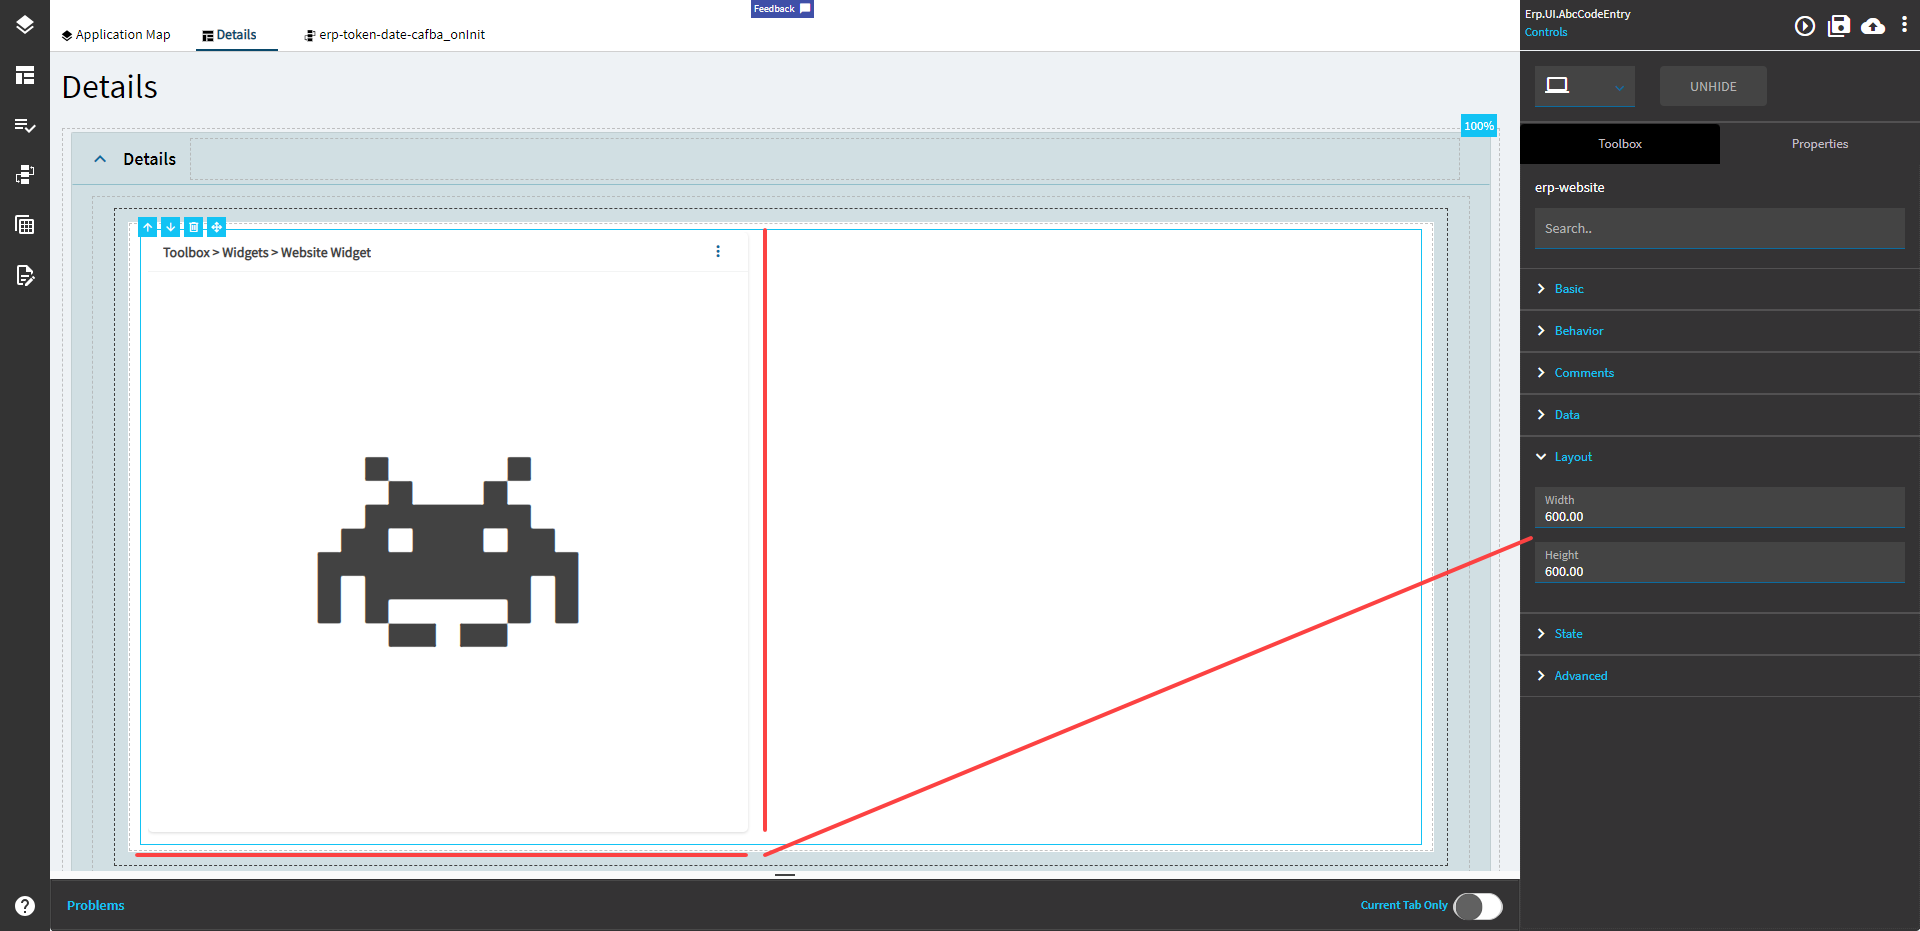
Figure E: Icon
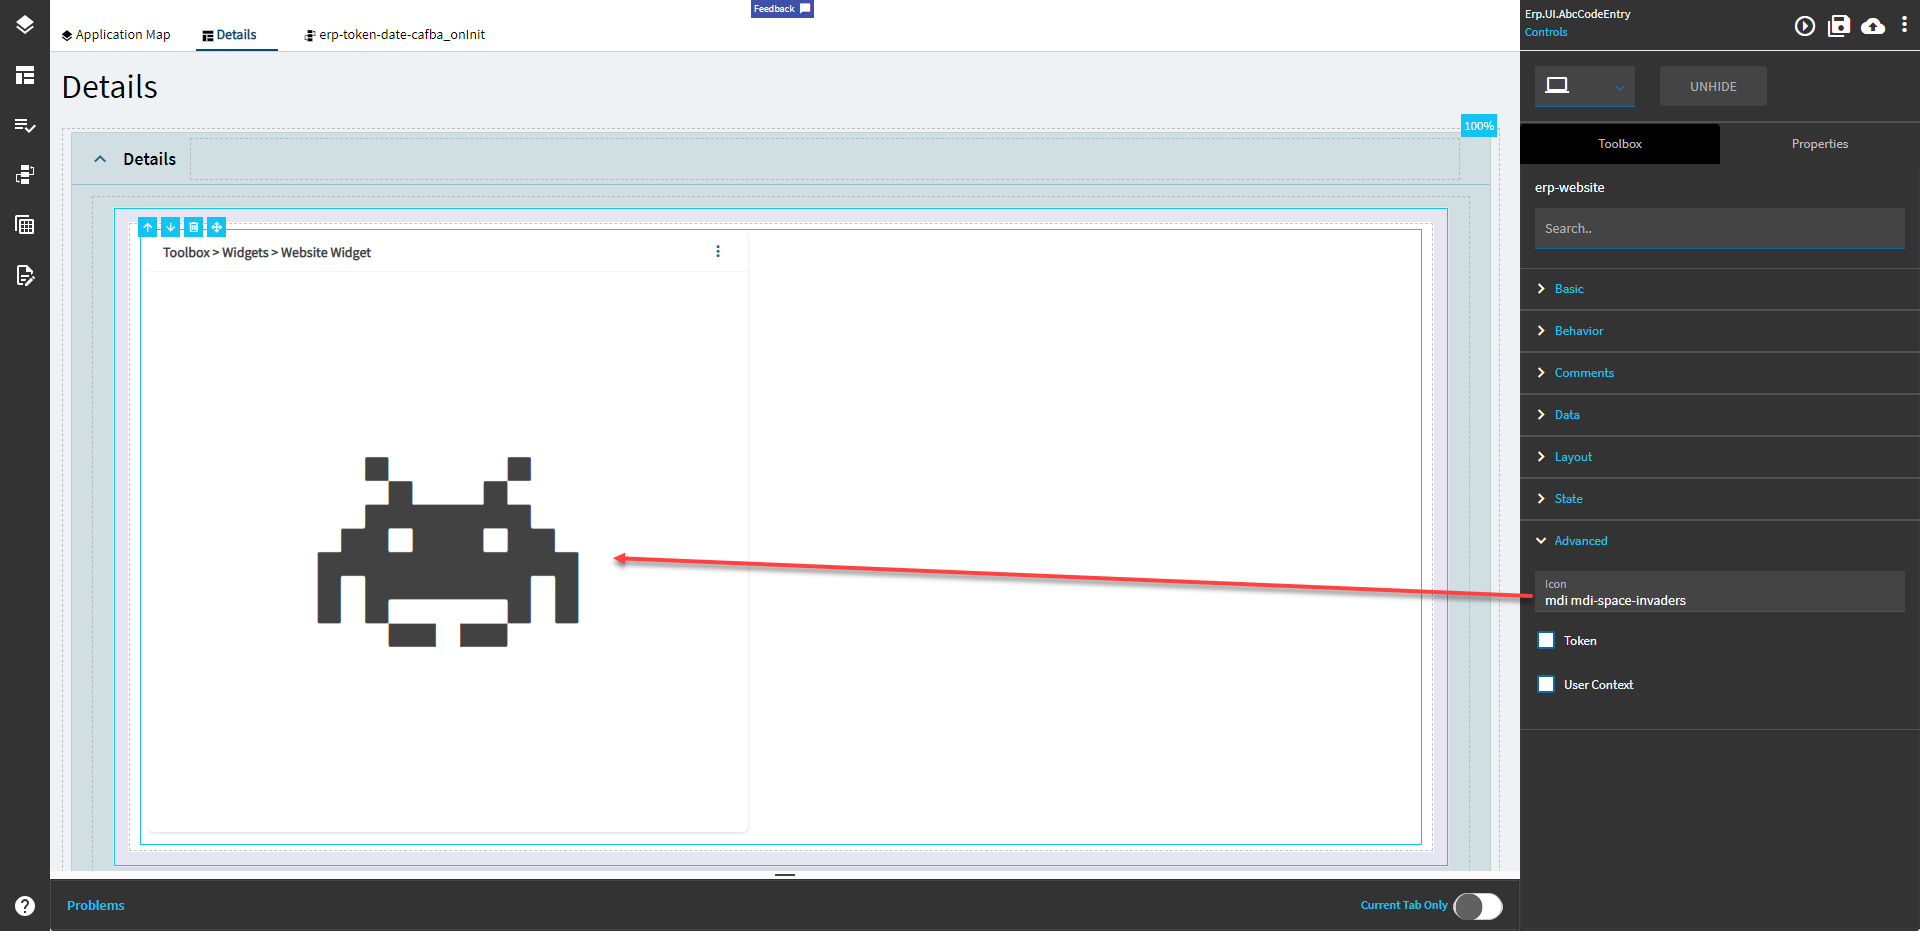
Figure F: Token
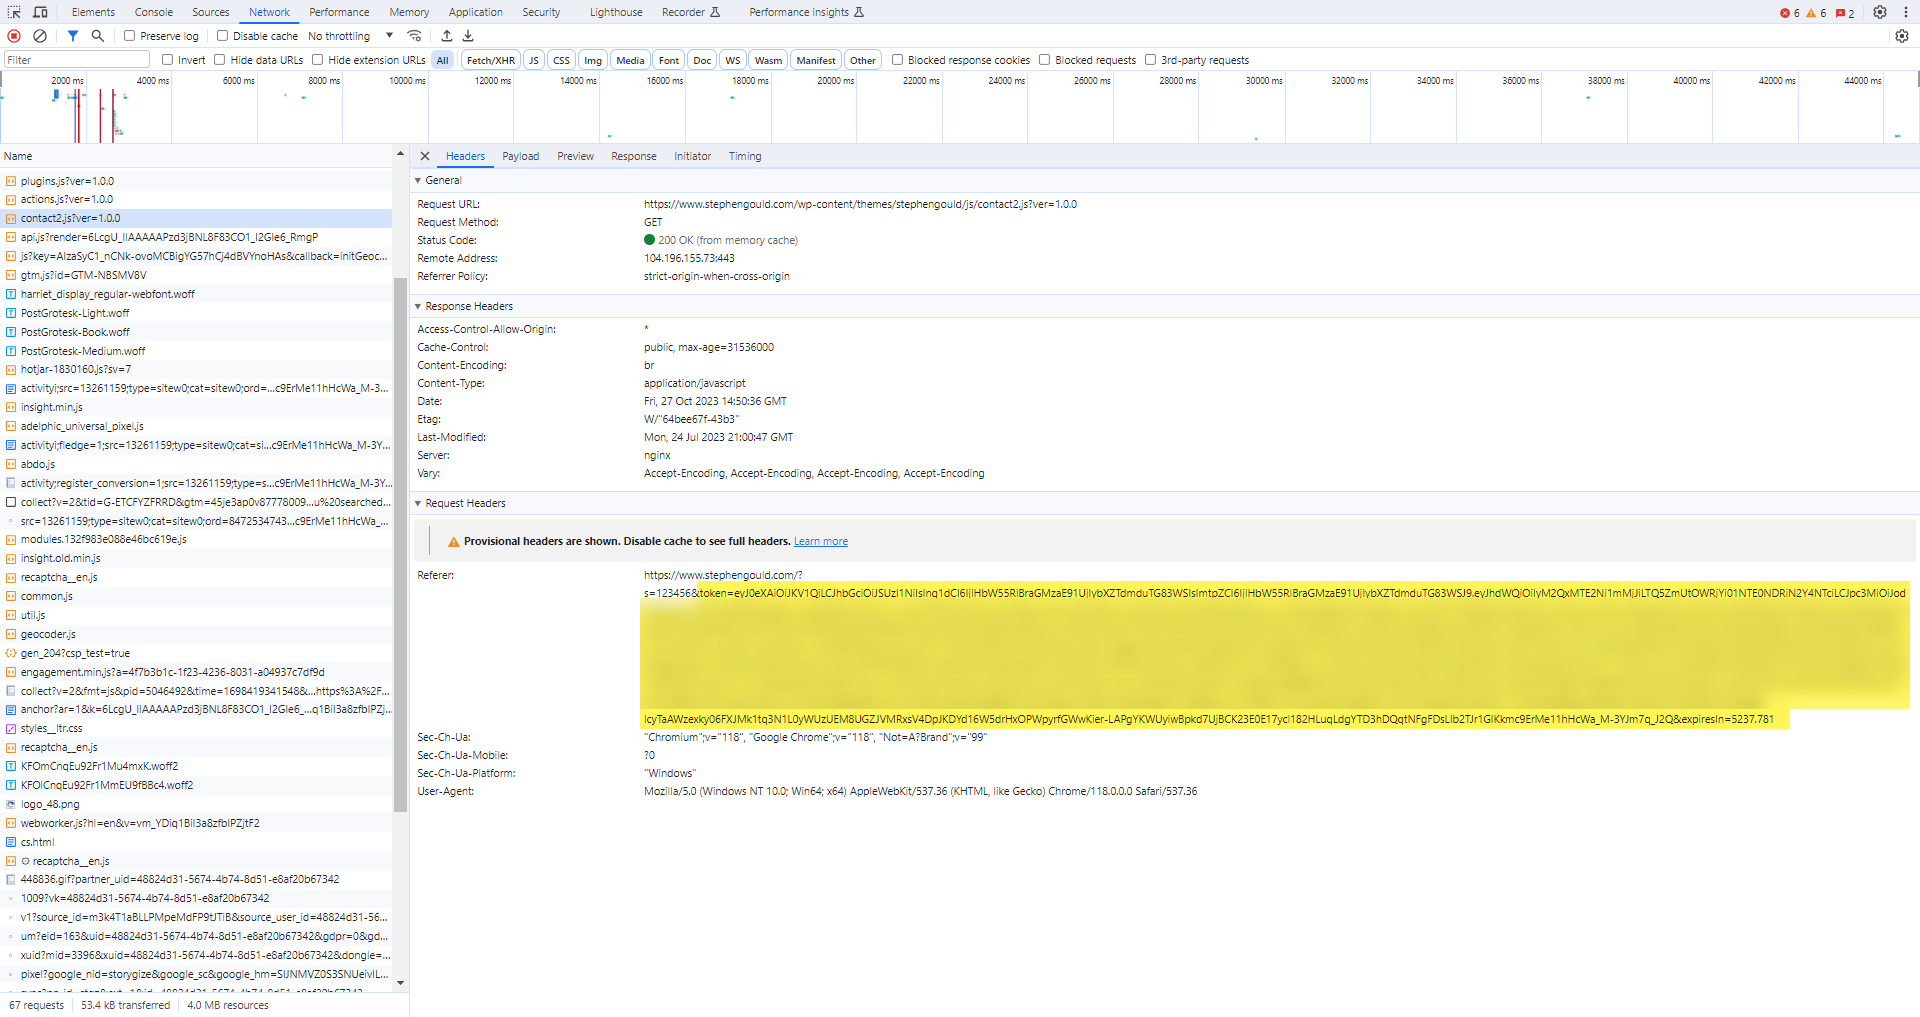
Figure G: User Context
