Apologies in advance for the long write up, but this is something that has bothered me (as well as a few others), so, I figured I’d take the time to crack it… and since it appears to work, I figured I’d write it up to share with all yinz guys.
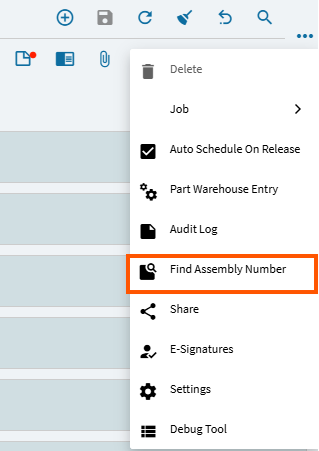
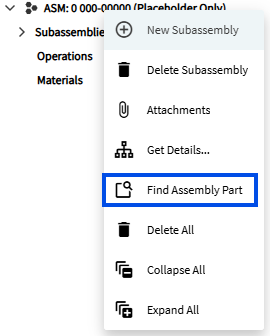
Epicor has provided us with a tool in Job Entry to “Find Assembly Part”:
Grand! But what if I only know the Assembly Sequence number?
Why can’t we have a Find Assembly Number tool?
Ref post (amongst several others):
@Banderson posted a “Classic” solution in the below thread:
… but… I wanted to see if I could crack this using Kinetic.
Below is my long-winded explanation…
~*~
I figured I’d hijack existing Epicor functionality as much as possible to pull this off.
First, I worked to dissect the existing tool - Find Assembly Part - which utilizes a rest call: Erp.BO.JobEntrySvc - Find Assembly

Based on the description “This method will locate a JobAsmbl record in the tree based on the inputted parameters.” I ASS-umed this would work for my purpose. I was hoping I could just pass the JobNum and AssemblySeq and leave the partnum empty or null… but I found this resulted in bad returns.
I therefore wanted to supply all (3) pieces of information. JobNum, AssemblySeq, and PartNum. I got this to work!!! BUT… like many others before me, I found this FindAssembly method will find the first assembly using a referenced PartNum. If you have the same part used in multiple assemblies on your job… no bueno! So, after additional testing, I decided to bail on the FindAssembly method all together!
~*~
My Customization:
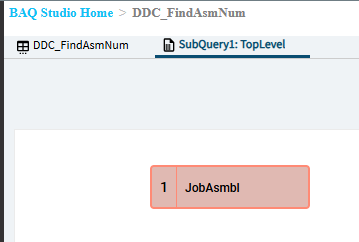
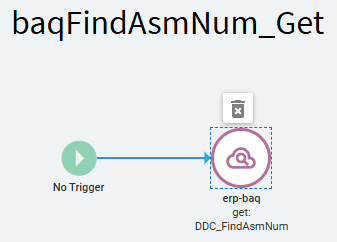
First, the easiest BAQ I ever created.
Initially I used this BAQ when attempting to get the FindAssembly method call to work. That method eventually failed me, but the BAQ is still useful (though, not critical to functionality). You can skip this if you want, but it ended up nice to have to create a warning if the user enters an assembly number that doesn’t exist on the job.
This is a simple BAQ and worth the few minutes it takes to create.
I’m going to query the JobAsmbl table so I can query a list of all assembly sequences for a particular job. And I only need JobNum, AssemblySeq, and PartNum:
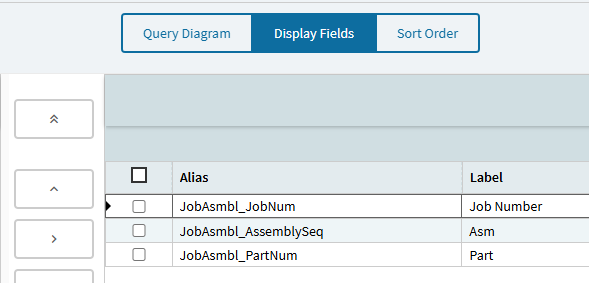
BAQ set to Shared. Save. Done! (See! That was easy!)
~*~
Now for the Application Studio gymnastics…
The good thing is, Epicor already designed everything for their “Find Assembly Part” tool. We just need to recreate everything for our “Find Assembly Number” tool.
First thing in App Studio, I need to be able to call my BAQ. (Again, this is optional, but recommended.)
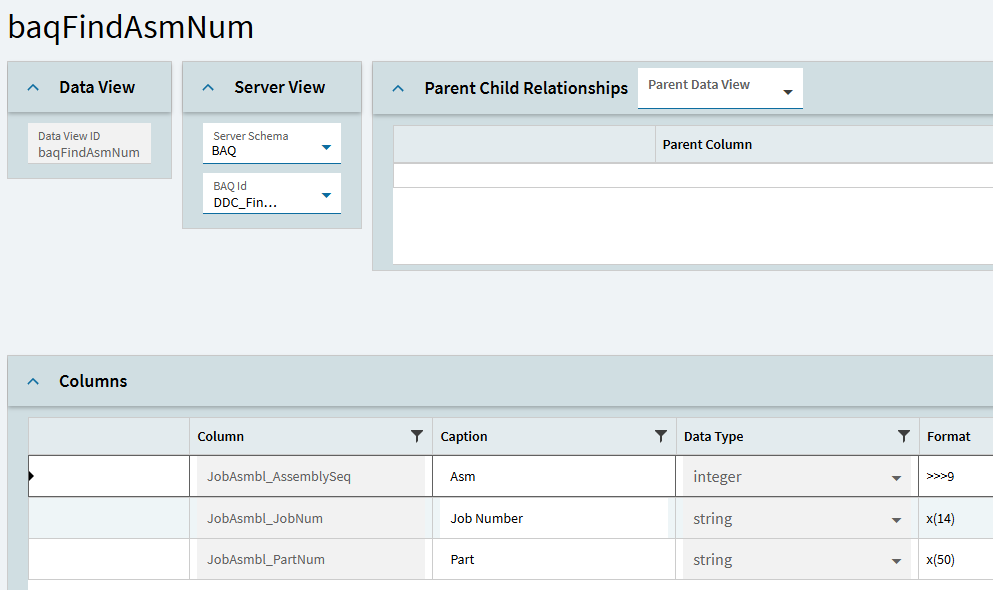
I created a new dataview based on my BAQ. Using the wizard to do this, it will automatically create a “get” event to call the query.
In the event, we need to set up the values we’re going to send as a Where Clause when it runs.
Click on the erp-baq action. In properties, open BAQ Execute Options. Below is what I added for my Where:
JobAsmbl_JobNum = '{KeyFields.JobNum}' AND JobAsmbl_AssemblySeq = '{TransView.FindAsmNum}'
When the BAQ runs, it will now only return matches where JobNum = the job we’re viewing in Job Entry and the AssemblySeq = the target assembly sequence the user enters (later). This should result in one row being returned.
Done with this part!
~*~
Next, the form.
Epicor uses a slide out panel for Find Assembly Part.
So, I created my own slide out panel for Find Assembly Number:
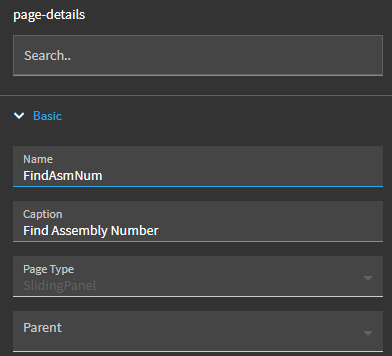
Page Properties: Give the page a notable name and meaningful caption.
To build the slide out, I just added a Panel Card, a column, a numeric field and a button.
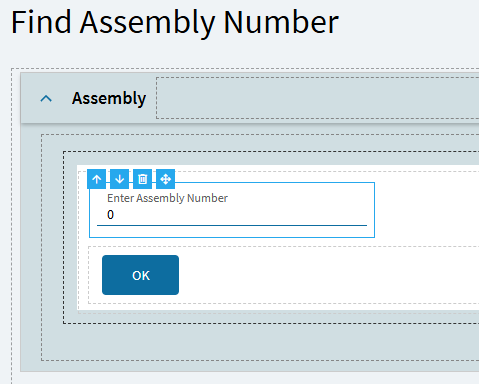
The numeric box was bound to TransView.FindAsmNum <— this is the AssemblySeq the user wants to search for.
I also went in to Advanced > Format and set the Maximum Fraction Digits to 0 (so it would display as an integer instead of a decimal).
The button was added to the form… but I did NOT create an onclick event here. We’ll get to that later.
Done with the slider page!
~*~
Next, is to build our Tool.
Again, we can copy the existing Find Assembly Part tool.
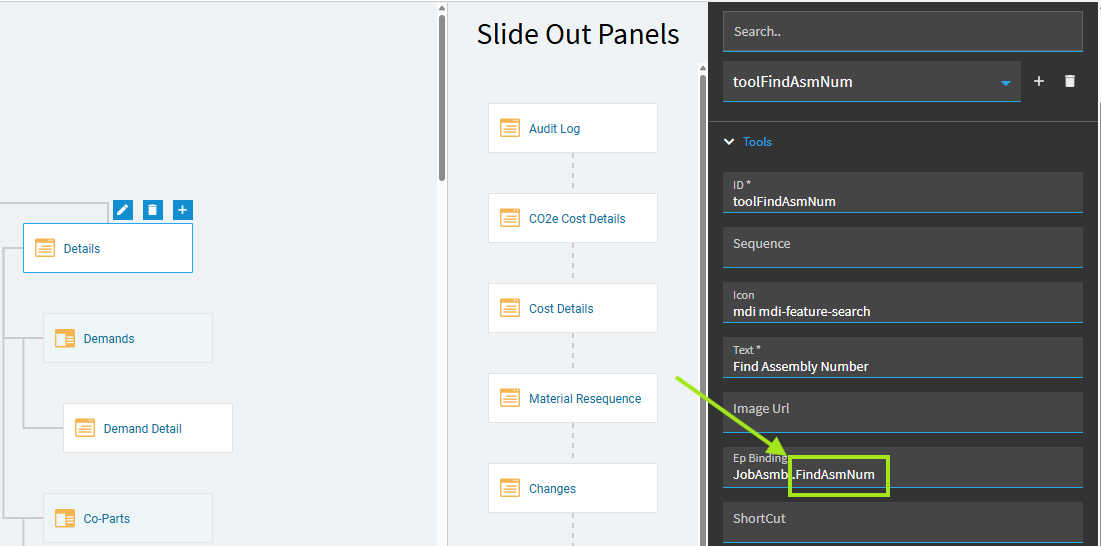
In the Application Map, I clicked on the Details page and opened Advanced > Tools and found the existing toolFindAsm.
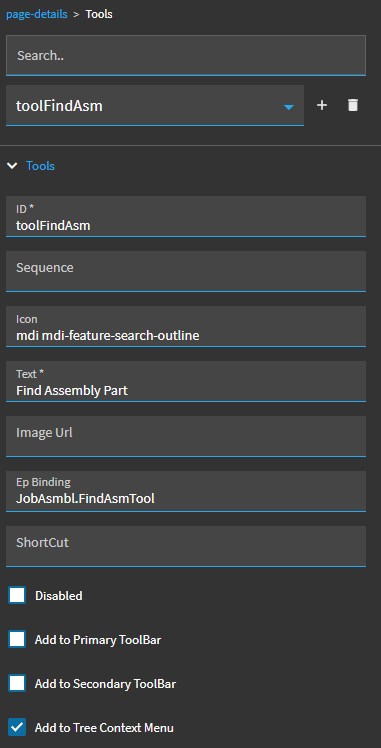
I then clicked the (+) icon to add my version (copying but tweaking the settings):
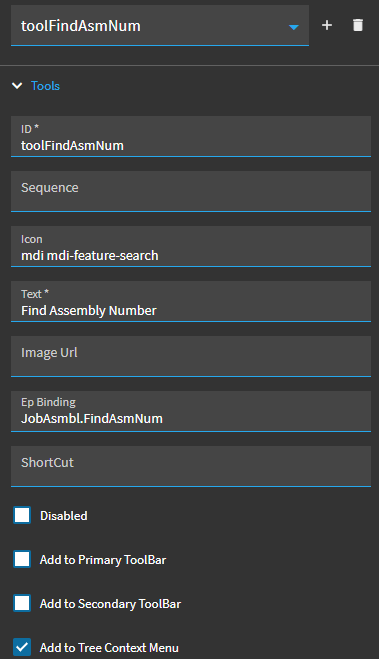
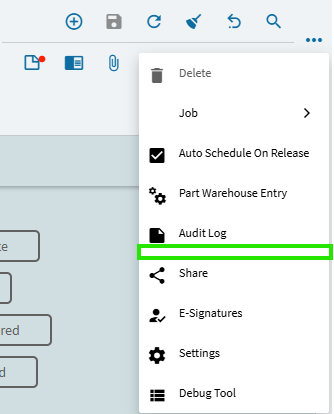
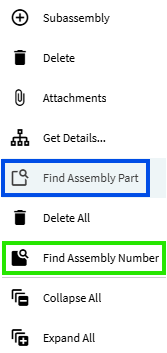
Tool is done! You can preview at this point (if you wish) and verify your tool appears when you right-click in the tree-view:
Nothing happens when you click you tool… so let’s hotwire some events!
~*~
Events:
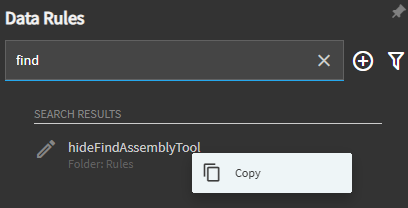
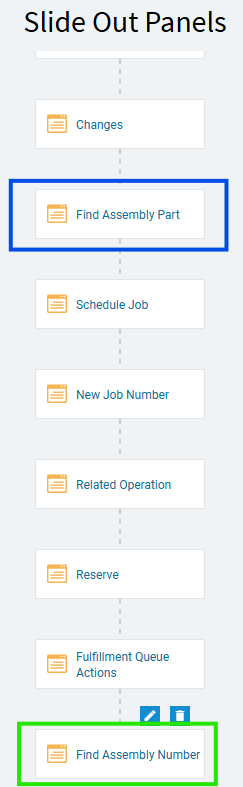
If you look at the existing events in App Studio and search for “find”, you should see the below:
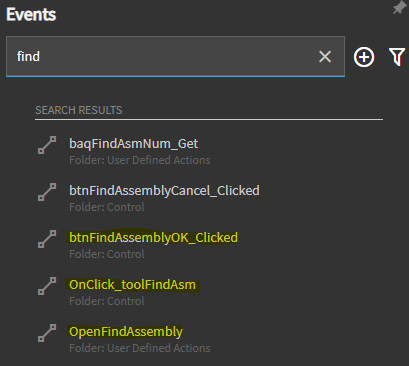
We’re going to need to make copies of, and alter, the three I highlighted, and we’re going to work from the bottom up.
First, we’ll wire up our own OpenFindAssemblyNum:
STOCK EVENT:

- Copy this event.
- Change the name.
- Change the row update to Ep Binding of
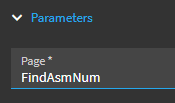
TransView.FindAsmNum- This just sets an initial empty value. - Change the Slider-open to open our new page.
Here’s the initial value:
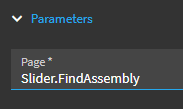
I found that if I used the same syntax “Slider.name” it didn’t work. But if you just add the page name, it does. (Just one of those things, I guess.)
Save. Done with this event.
~*~
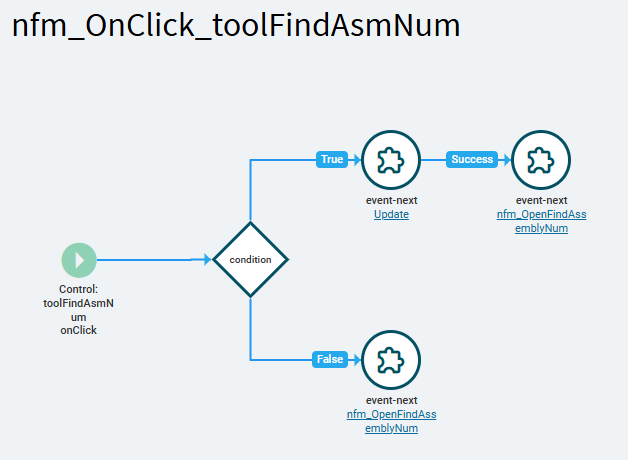
Next, we’ll wire up our shiny new tool:
STOCK EVENT:
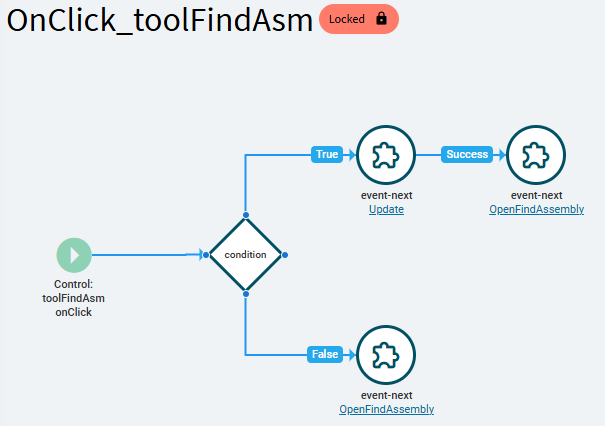
- Copy this event.
- Change the name.
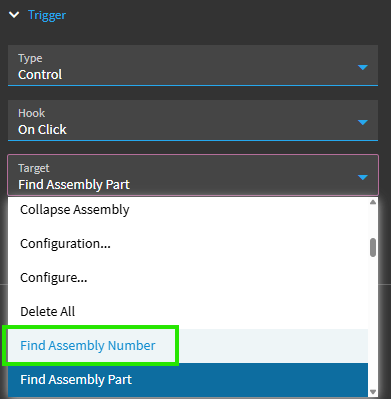
- Update the trigger to be based on our new tool:
- The condition can stay as-is.
- Update BOTH of the event-nexts to the event we just created above (that’s why we did that one first!).
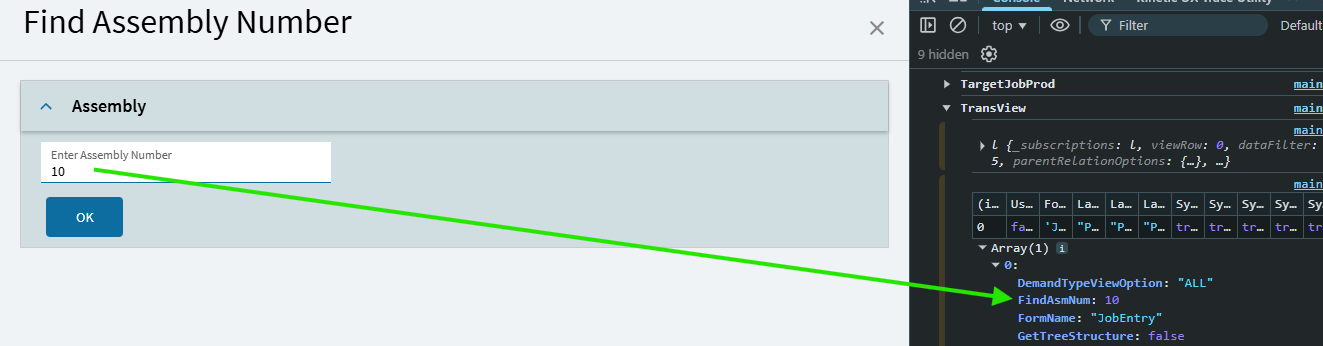
At this point, you can test again. Preview… and now clicking your new tool should open up your slider:

You can also verify in debugger that if a user types in a target assembly sequence number, that should be reflected in the TransView dataview:
~*~
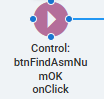
Now, let’s wire up the OK button.
(This is the big one.)
STOCK EVENT:

- Copy this event.
- Change the name.
- Change the trigger to be onclick of the “OK” button of your Find Assembly Number page. The bad thing here is that the list shows each button’s label text. So, you would select the one that just says “OK”.

The trigger itself (in the event) will show the button’s ID… so just verify that matches up with your button control:
The below rest action (in the stock event) is what performs the call to Erp.BO.JobEntrySvc - FindAssembly.

Again, I attempted to inject my own values into that rest call… and although it did work, it would only bring back the first assembly with the specific PartNum, NOT the assembly I was asking for. FindAssembly is hinged on the corresponding PartNum. The PartNum is the key to that method, so, ultimately it doesn’t work for our purpose. I therefore deleted the “rest” action from my event.
Further, I have to say, I don’t understand why… but the “exit” in my copied version of the stock event was blocking my event from continuing (even if not erroring) after the PerformUpdate. I originally left it in there but couldn’t get past it. So ultimately, I ended up deleting that “exit” action as well. Nothing has blown up (yet)… so fingers remain crossed. Based on that, in your copied event, you may want/need to delete the “exit” action, too.
In the place of the exit and rest actions, we’re going to inject a few of our own steps.
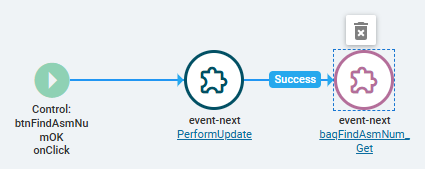
First, on-success of the “PerformUpdate” event, we’re going to call our BAQ.
In the flow of this customization, at this point, the slider is open and the user has entered their target assembly number. They’ve clicked “OK”. So we now have the information we need to call our BAQ. Again, initially I had this BAQ to get to the corresponding PartNum… but instead, I’m just using it to make sure the AssemblySeq the user entered exists.
So, on the PerformUpdate, under Behavior, you can choose OnSuccess… then add an event-next. For that event-next the Event ID will be your BAQ query get event:
OnSuccess of your BAQ call… I added a condition. The BAQ should return one row. And ONLY one row. A job can’t have two assemblies with the same AssemblySeq. But, it COULD have no matching rows. For example, a user types in a target assembly number that doesn’t exist on the job. In that case, I want to put up an error message.
Condition Expression: trans.dataView('baqFindAsmNum').data.length === 1
This is verifying my baq dataview has exactly one row. If true… I’m ready to proceed to the GetDatasetForTree event. You will need to link the condition to the existing event-next action manually, then change the connector to “True”.
If false… dialog-show (alert):
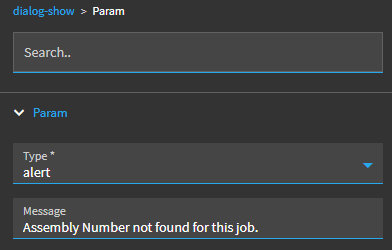
NOTE: injecting actions into an existing event can get ugly in the UI. I’ve found that if I save, close, and then re-open the event, it will get painted back on the screen in a cleaner layout.
At this point, I have:
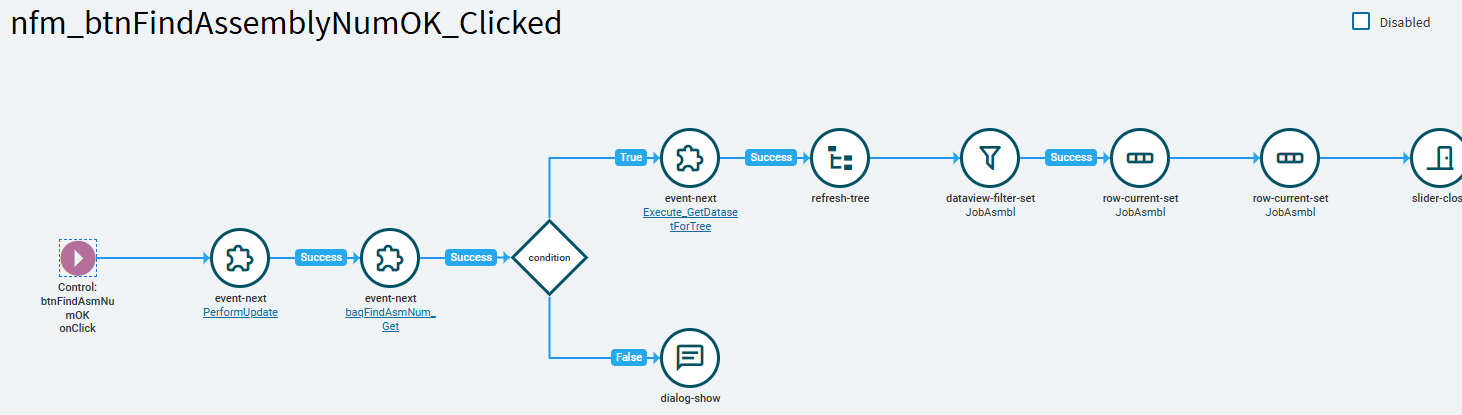
Again, I’ve deleted the stock exit and rest actions and injected my BAQ call event after the PerformUpdate event, added a condition, and if true, it moves on to the event-next. If false, dialog-show.
~*~
The (almost) last thing we need to do is copy and alter the “Execute_GetDatasetForTree” event.
STOCK EVENT:
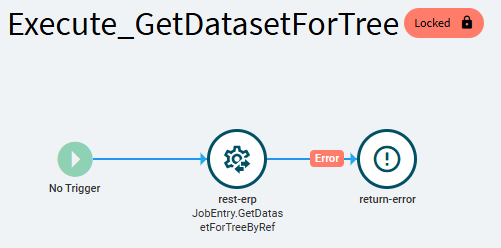
- Copy this event.
- Change the name.
This rest-erp event is where we’re going to inject OUR values. Go into Properties > Rest Services > Method Parameters (there are (5)).
ipJobNum —> Okay to leave as is.
ipStartAssemblySeq — > Change field value to (0)
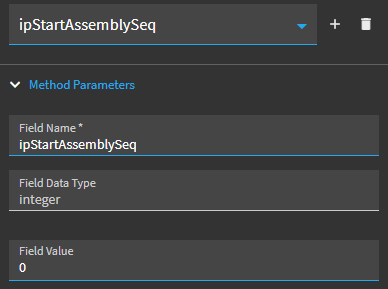
ipCurrentAssemblySeq —> set Field Value: {TransView.FindAsmNum}
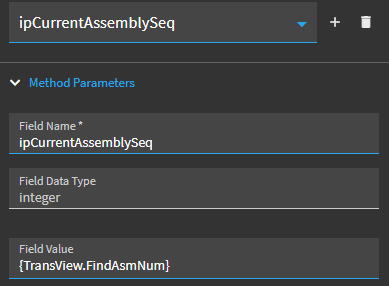
ipCompleteTree —> Okay to leave as is.
ipJobTypeMode —> Okay to leave as is.
Save.
*NOTE!!! altering of this rest call was a REAL PITA! The settings wouldn’t stick. I’d test and the rest call would fail with undefined parameters. I would close the event in App Studio, reopen, and find the original settings still there. I would refresh and/or close App Studio and reopen and the original settings would be back! Ultimately had to delete a the ipStartAssemblySeq parameters and add it back in manually to get my change to stick.
When you get to the point of testing and results aren’t coming back as they should, scrutinized this event!! Make sure your settings are sticking!*
~*~
And finally… go back to your previous “OK_Clicked” event.
We need to make a couple small tweaks.
One… change the existing event-next so it will call the event you just created:

Just change the Event ID there so it matches the name you called your version.
And Two… Click on the dataview-filter-set… change the Parameters > Filter to: AssemblySeq = {TransView.FindAsmNum}
Save.
~*~
Preview. Test. (FINALLY)
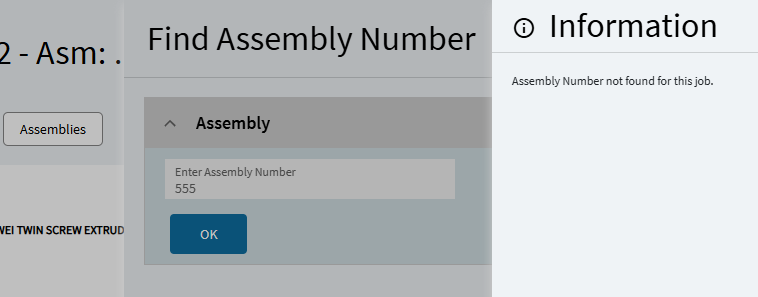
Entering an assembly number that didn’t exist:
(THIS is what the simple BAQ is utilized for. Without it, you will not get any kind of error here.):
Entering an assembly number that DOES exist… (7) levels deep… the tree view successfully opens right to it!:
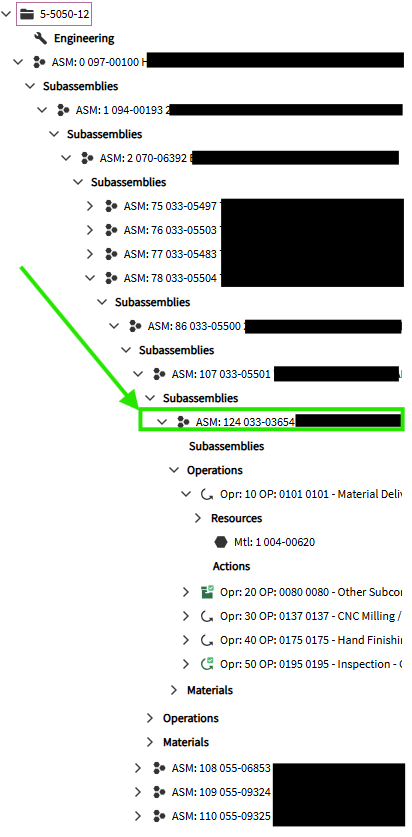
~ Fin ~