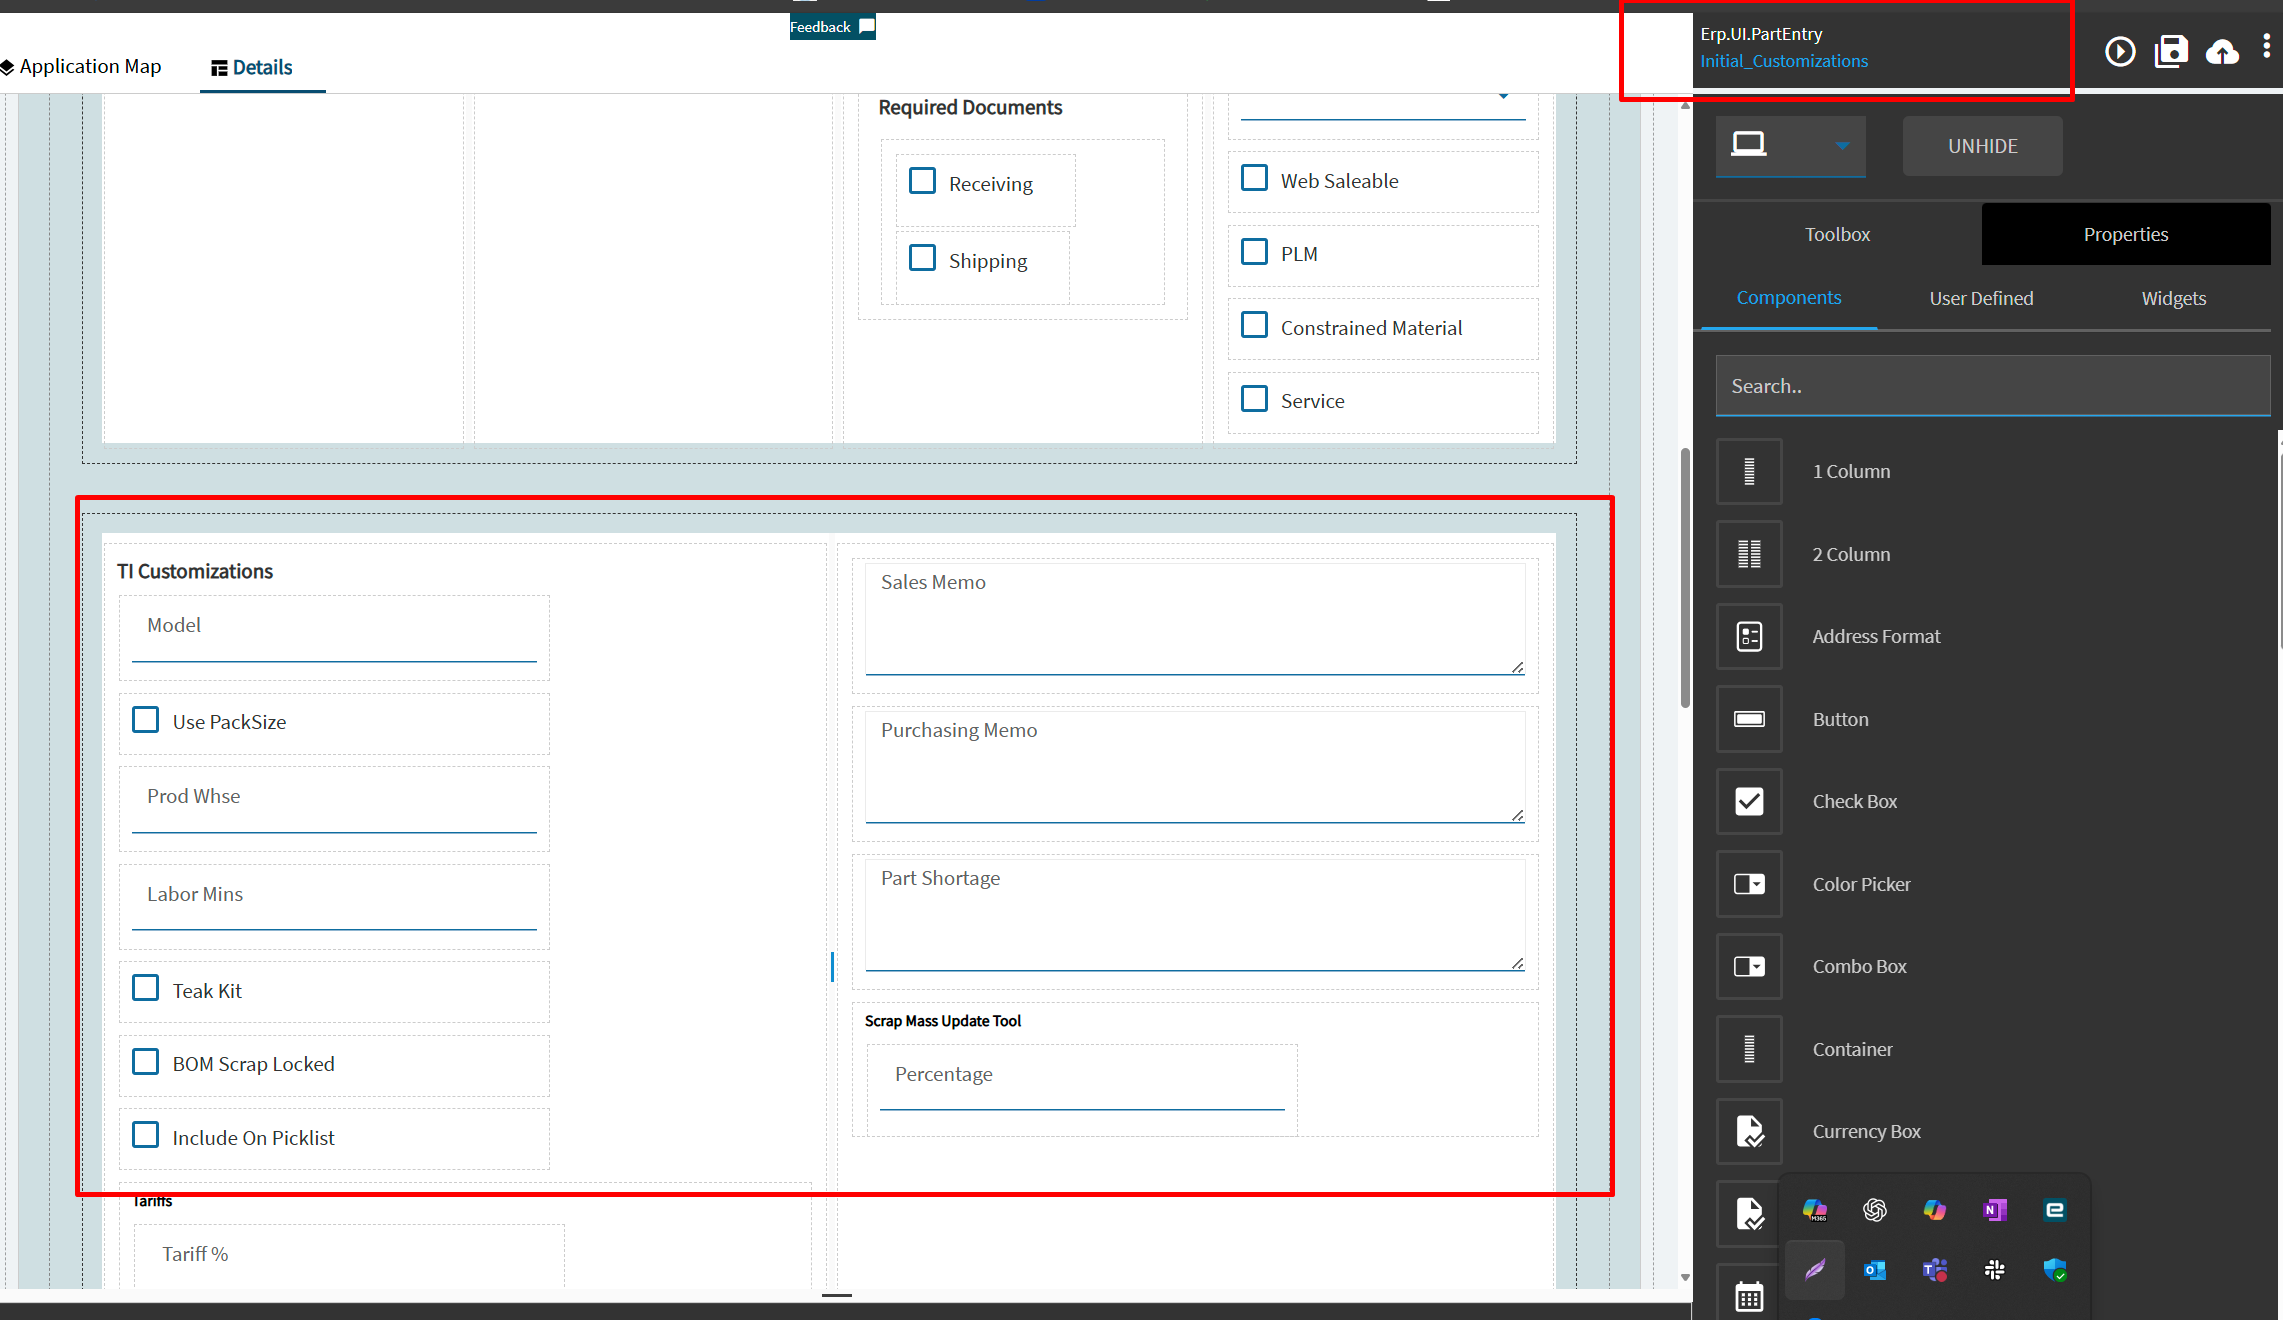
We were struggling with identifying all screen changes that were done in classic when we are trying to re-create / convert to Kinetic.
The below function can be added at the End of any classic customization and invoked in InitializeCustom code it will run through all the custom or moved / changed controls and visually highlight them for you to make the changes easier to spot.
Simply add this at the bottom of your classic customization
private void ColorChange()
    {

        foreach(System.Collections.DictionaryEntry controls in csm.PersonalizeCustomizeManager.ControlsHT)
        {
            if(csm.CustomCodeAll.Contains(controls.Key as String) && (controls.Value as IInfragisticsAppearance!=null))
            {
				 // Color and Style Hidden Controls
                 if(!((Control)controls.Value).Visible)
                 {
                    ((Control)controls.Value).Visible = true;
                    ((IInfragisticsAppearance)controls.Value).Appearance.BorderColor=System.Drawing.Color.SpringGreen;
                    ((IInfragisticsAppearance)controls.Value).Appearance.BackColorDisabled = System.Drawing.Color.SpringGreen;
                    ((IInfragisticsAppearance)controls.Value).Appearance.BackColorDisabled2 = System.Drawing.Color.SpringGreen;
                    ((IInfragisticsAppearance)controls.Value).Appearance.ForeColor = System.Drawing.Color.Black;
                    ((IInfragisticsAppearance)controls.Value).Appearance.ForeColorDisabled = System.Drawing.Color.Black;
                    ((IInfragisticsAppearance)controls.Value).Appearance.BackColor = System.Drawing.Color.SpringGreen;
                    ((IInfragisticsAppearance)controls.Value).Appearance.BackColor2 = System.Drawing.Color.SpringGreen;
                    if(controls.Value as Infragistics.Win.UltraControlBase!=null)
                    {
                        ((Infragistics.Win.UltraControlBase)controls.Value).UseOsThemes=Infragistics.Win.DefaultableBoolean.False;
                        ((Infragistics.Win.UltraControlBase)controls.Value).UseAppStyling=false;
                    }
                    EpiTextBox txtNew = new EpiTextBox();
                    txtNew.Appearance.BorderColor=System.Drawing.Color.SpringGreen;
					txtNew.Appearance.BackColor = System.Drawing.Color.SpringGreen;
					txtNew.Appearance.BackColor2 = System.Drawing.Color.SpringGreen;
					txtNew.UseAppStyling=false;
					txtNew.UseOsThemes=Infragistics.Win.DefaultableBoolean.False;;
                    txtNew.Text="<-- Hidden";
                    Control parent = ((Control)controls.Value).Parent;
                    txtNew.Location= ((Control)controls.Value).Location;
                    txtNew.Left=txtNew.Left+((Control)controls.Value).Width;
                    txtNew.Width = 65;
                    parent.Controls.Add(txtNew);
                    txtNew.BringToFront();
                 }
				 // Color and style native controls that have been moved/modified/changed
                 else{
                    ((IInfragisticsAppearance)controls.Value).Appearance.BorderColor=System.Drawing.Color.Bisque;
                    ((IInfragisticsAppearance)controls.Value).Appearance.BackColorDisabled = System.Drawing.Color.Bisque;
                    ((IInfragisticsAppearance)controls.Value).Appearance.BackColorDisabled2 = System.Drawing.Color.Bisque;
                    ((IInfragisticsAppearance)controls.Value).Appearance.ForeColor = System.Drawing.Color.DodgerBlue;
                    ((IInfragisticsAppearance)controls.Value).Appearance.ForeColorDisabled = System.Drawing.Color.DodgerBlue;
                    ((IInfragisticsAppearance)controls.Value).Appearance.BackColor = System.Drawing.Color.Bisque;
                    ((IInfragisticsAppearance)controls.Value).Appearance.BackColor2 = System.Drawing.Color.Bisque;
                    if(controls.Value as Infragistics.Win.UltraControlBase!=null)
                    {
                        ((Infragistics.Win.UltraControlBase)controls.Value).UseOsThemes=Infragistics.Win.DefaultableBoolean.False;
                        ((Infragistics.Win.UltraControlBase)controls.Value).UseAppStyling=false;
                    }
                 }
            }
        }
        foreach(System.Collections.DictionaryEntry control in csm.CustomControlDictionary)
        {
			// Color and style custom controls
            if(control.Value as IInfragisticsAppearance!=null)
            {
                ((IInfragisticsAppearance)((System.Collections.DictionaryEntry)control).Value).Appearance.BorderColor=System.Drawing.Color.LemonChiffon;
                ((IInfragisticsAppearance)control.Value).Appearance.BorderColor=System.Drawing.Color.LemonChiffon;
                ((IInfragisticsAppearance)control.Value).Appearance.BackColorDisabled = System.Drawing.Color.LemonChiffon;
                ((IInfragisticsAppearance)control.Value).Appearance.BackColorDisabled2 = System.Drawing.Color.LemonChiffon;
                ((IInfragisticsAppearance)control.Value).Appearance.ForeColor = System.Drawing.Color.Coral;
                ((IInfragisticsAppearance)control.Value).Appearance.ForeColorDisabled = System.Drawing.Color.Coral;
                ((IInfragisticsAppearance)control.Value).Appearance.BackColor = System.Drawing.Color.LemonChiffon;
                ((IInfragisticsAppearance)control.Value).Appearance.BackColor2 = System.Drawing.Color.LemonChiffon;
                if(control.Value as Infragistics.Win.UltraControlBase!=null)
                {
                    ((Infragistics.Win.UltraControlBase)control.Value).UseOsThemes=Infragistics.Win.DefaultableBoolean.False;
                    ((Infragistics.Win.UltraControlBase)control.Value).UseAppStyling=false;
                }

            }
        }

    }
Then at the end of InitializeCustomCode invoke the fuction
ColorChange();
The resulting screen will look like this

Orange/Blue Text = Native controls that have been moved/modified/changed
Yellow/Coral Text = Custom Controls
Green = A hidden control these controls also get a special ← arrow pointing to them cause they are “new” and may be missed. We turned them from “hidden” to “visible” and higlight them in green.
Hope this helps